Setting up VirtualBox
First, download the KolibriOS distribution of your like, you may chose between a floppy or CD distribution.
The downloads on the site are packed with 7-zip, you'll need 7-zip or another unzipper to unzip the file.
Extract the file called kolibri.img (for the floppy distribution) or kolibri.iso (for the CD distribution) to a directory on your harddrive.
Remember where you have put it.
Then, after installing VirtualBox, click the 'new' button.
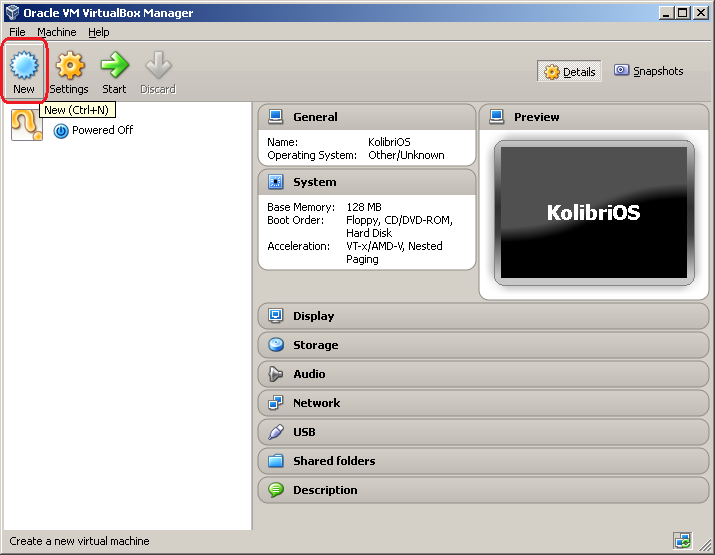
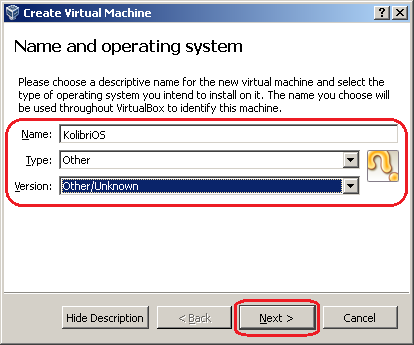
Type the name for your virtual machine and select the OS type.
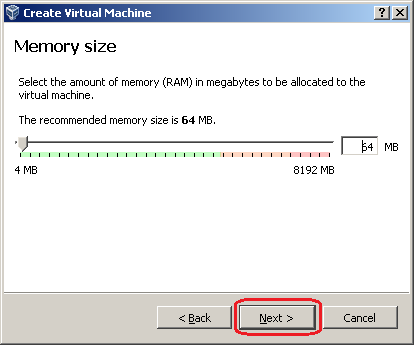
Choose the amount of RAM you want to use, 64 Mb is enough.
Unless if you want to run DOSbox or other heavy applications, 256 Mb may be a better setting then.
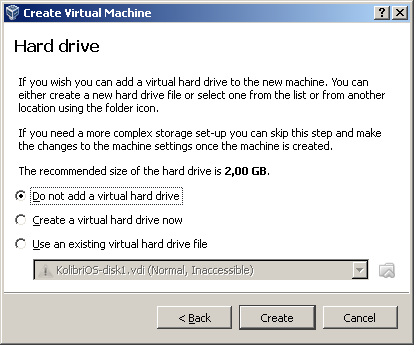
We dont need a harddrive.
If you'd like to use a harddrive, you will need another virtual OS to format it, as KolibriOS currently does not have a format program.
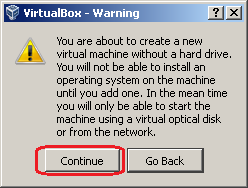
If you chose not to use a harddrive, you'll get this warning, just continue.
Ok, the virtual machine is created, but we still need to attach the CD/floppy.
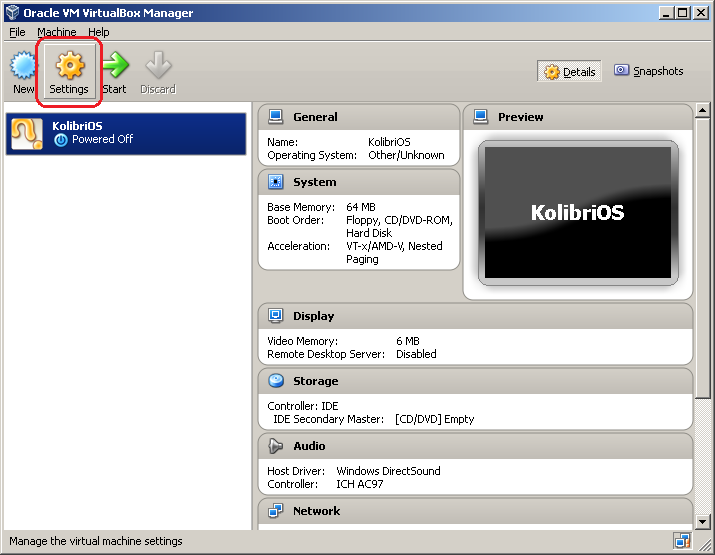
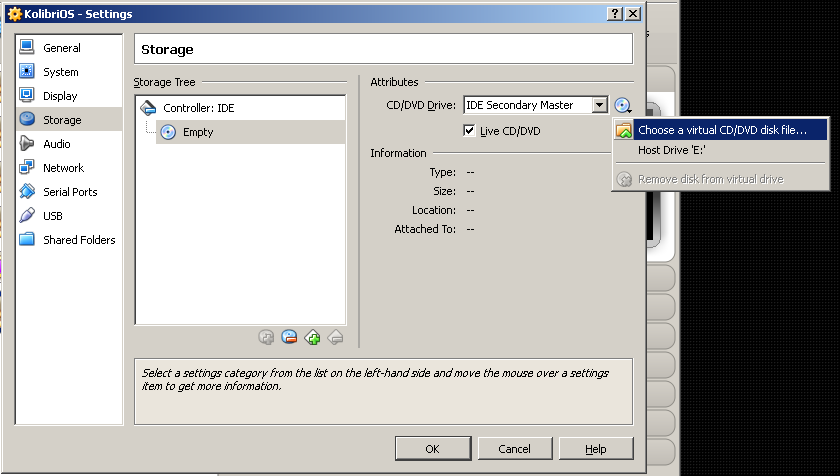
If you chose to use the CD image, simply select the CD/DVD drive and add the iso as shown in the picture.
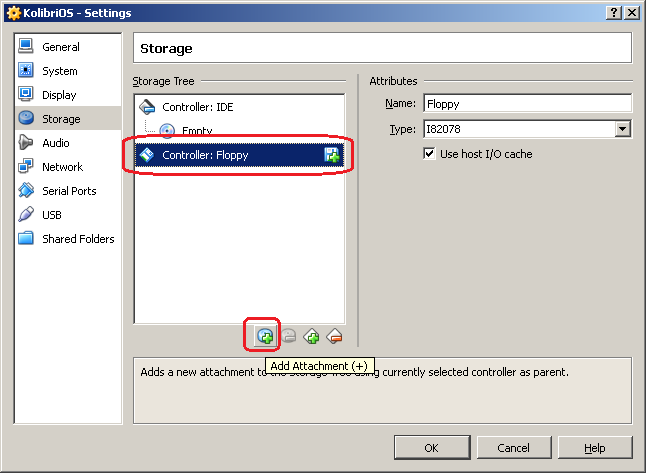
If you however would rather like to use the Floppy image, we'll need to add a floppy controller first.
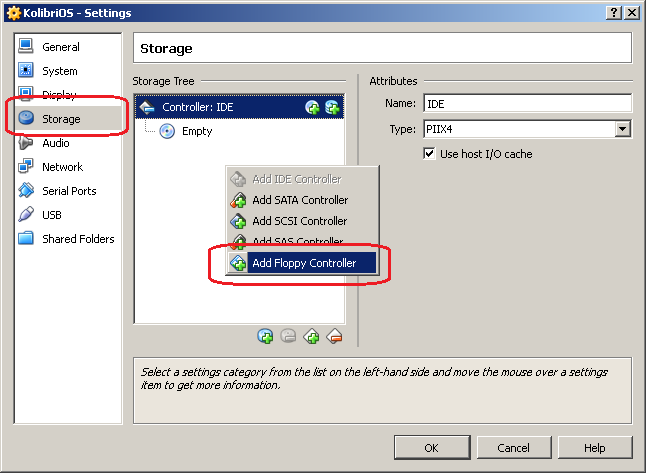
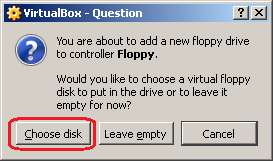
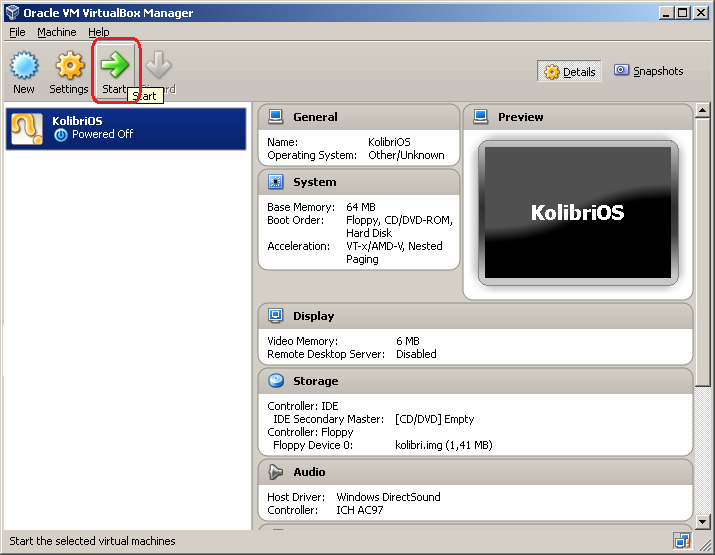
Once the floppy controller is added, attach the kolibri.img virtual floppy as follows.
