Setting up QEMU: Difference between revisions
No edit summary |
No edit summary |
||
| Line 14: | Line 14: | ||
[[Image:Img00003.gif|Img00003.gif]] | [[Image:Img00003.gif|Img00003.gif]] | ||
Then click Next and in that window fill the Virtual Machine RAM textbox with a RAM needed, remember that KolibriOS support 8MB of RAM as a minimum, | Then click Next and in that window fill the Virtual Machine RAM textbox with a RAM needed, remember that KolibriOS support 8MB of RAM as a minimum, I suggest using 64Mb | ||
[[Image:Img00004.gif|Img00004.gif]] | [[Image:Img00004.gif|Img00004.gif]] | ||
Revision as of 17:59, 15 April 2009
The purpose of this tutorial is to connect KolibriOS to internet using a virtual machine which is emulated with QEMU (virtual machine emulator), so we’re going to need this programs/files:
- Qemu Manager – download it from www.davereyn.co.uk
- KolibriOS floppy disk image – www.kolibrios.org
The first thing we’re going to do is to setup KolibriOS virtual machine on Qemu Manager, so it’s assumed that you have installed it already.
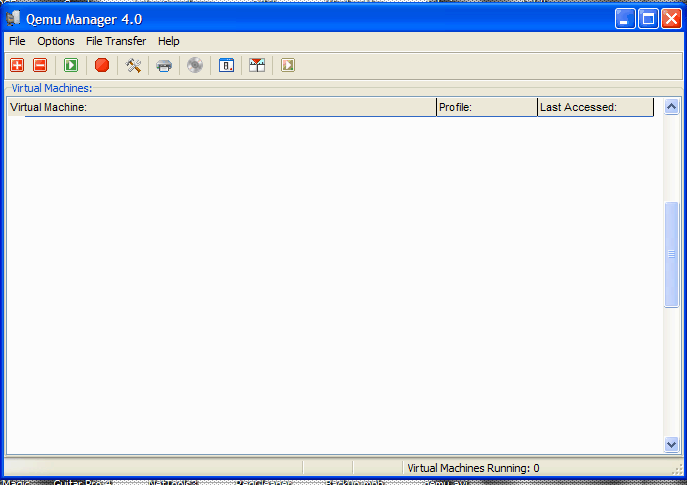
Launch Qemu Manager and you will see the following window.
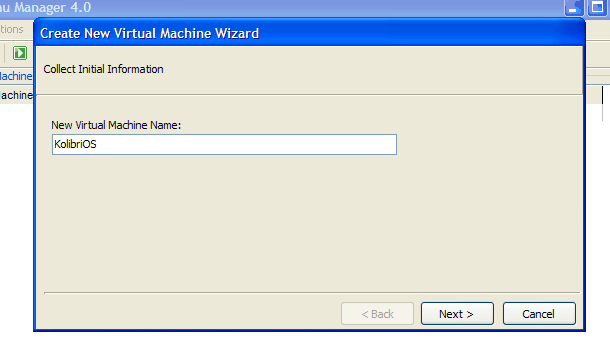
Click on the ![]() toolbar button to add a new machine. Then it will ask you to write the new virtual machine name:
toolbar button to add a new machine. Then it will ask you to write the new virtual machine name:
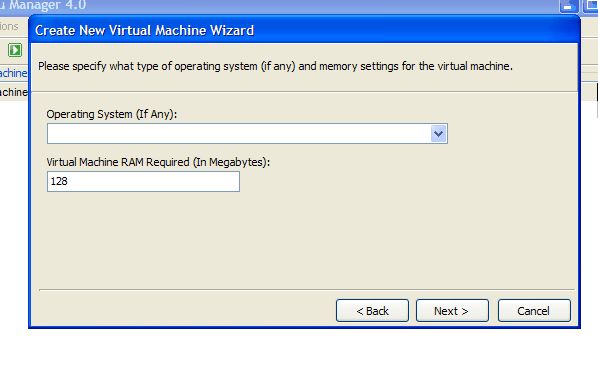
Then click Next and in that window fill the Virtual Machine RAM textbox with a RAM needed, remember that KolibriOS support 8MB of RAM as a minimum, I suggest using 64Mb
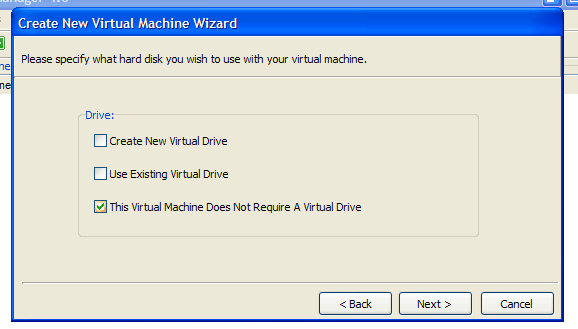
Click Next and in this window check “This Virtual Machine Does Not Require A Virtual Drive”
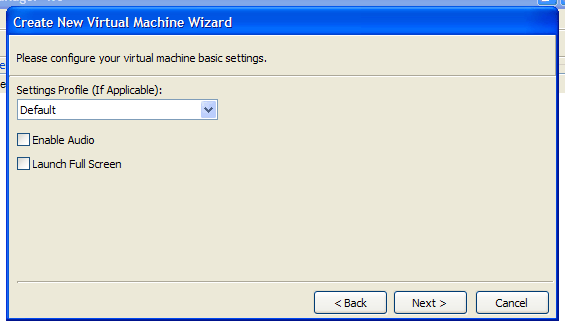
In the next window don’t modify anything:
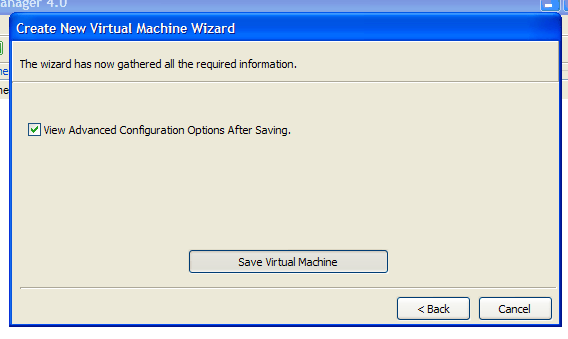
Click Next and in the following window click on “Save Virtual Machine” button
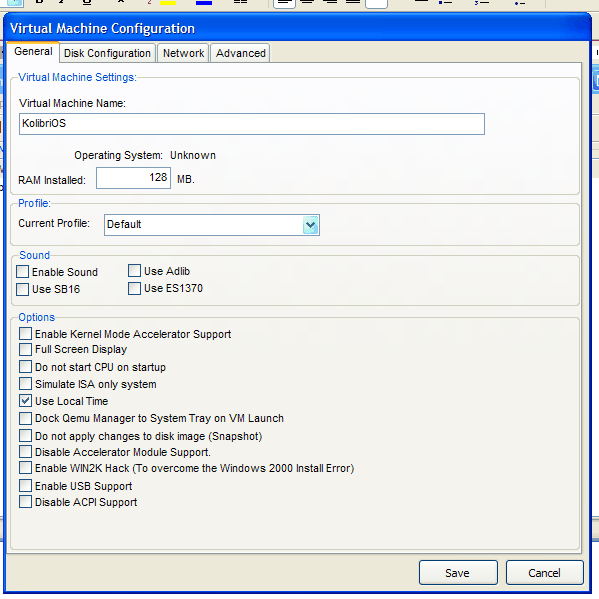
It will show you the following window:
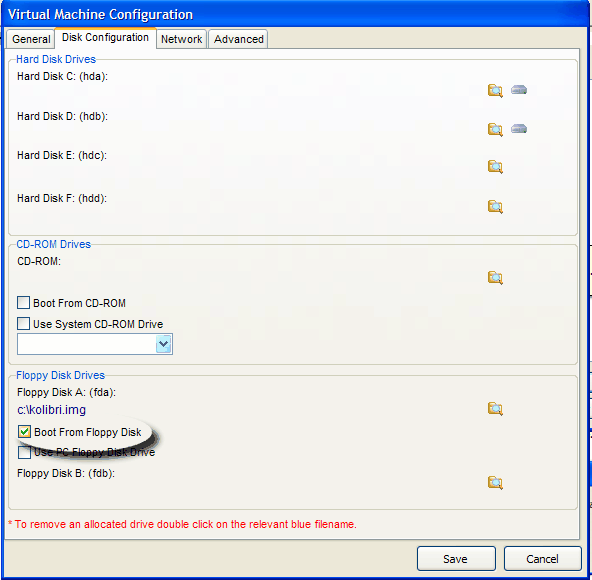
Select the “Disk Configuration” tab and click on the shown button, which is for choosing our KolibriOS floppy image:
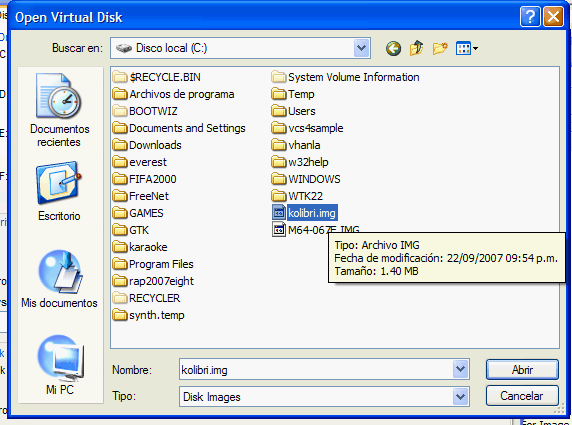
Then select the appropiate floppy image
It will warn you but just click YES to continue:
Next select “Boot from floppy disk”
And Save it – next click on to Launch the Emulated Virtual Machine – Next configure the boot options to whatever you want, just test it, because not all of the combinations work, so I’m using here a 640x480 standard mode
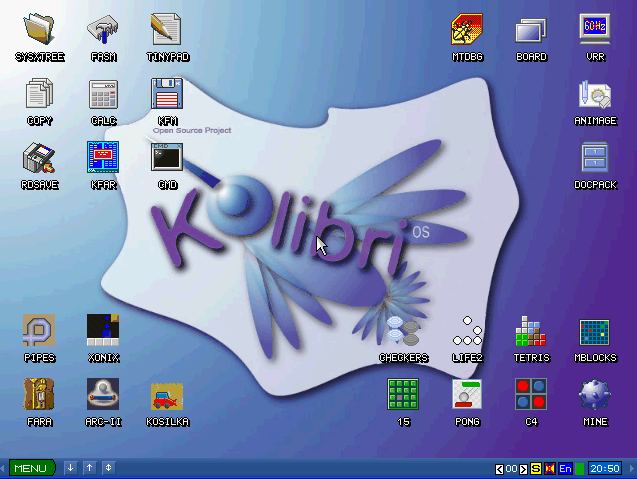
Hit enter, it will ask you to save settings (it is saved in the floppy image) and now we’re running Kolibri
Part II: Setup Network for Internet Connection
Now that we’re on KolibriOS we’re going to setup for Internet:
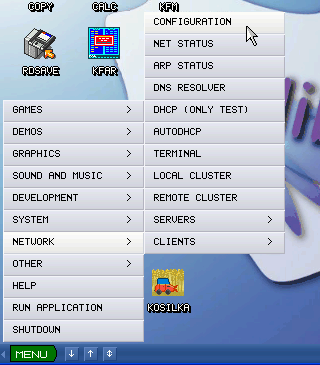
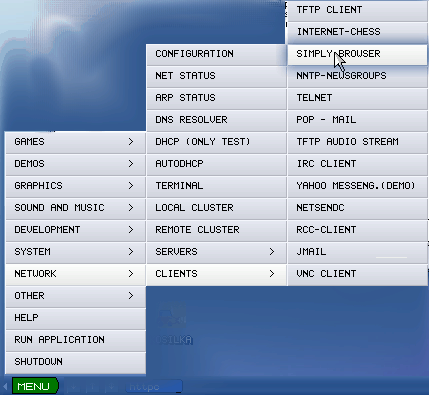
– Click on Menu->Network->Configuration
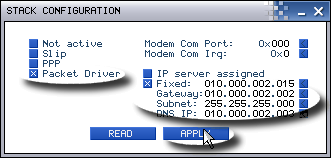
Next Configure using the following info:
– Check “Packet Driver”
– Check “Fixed” and the IP details are:
Fixed: 10.0..2.15 (our machine IP) Gateway: 10.0.2.2 (qemu’s gateway) Subnet: 255.255.255.0 DNS IP: 10.0.2.3
Apply it and we’re connected, the only thing left is to test it on a Web Client
Click on MENU -> Network -> Clients -> Simply Browser
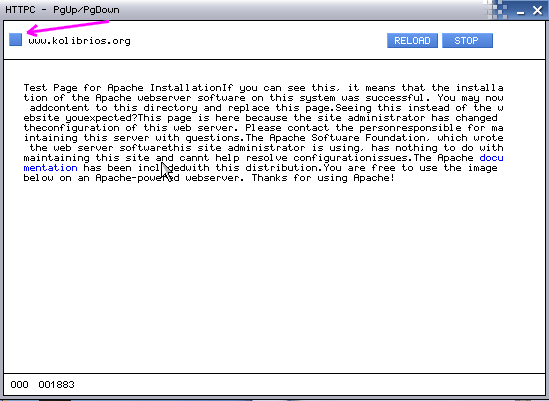
Finally click on the button that points the pink arrow, then put any URL you want to surf and hit enter
I put www.kolibrios.org
Now we see an Apache Installation website…
THX 4 UR Time, C U Smile
Howto written by Vhanla, converted to the wiki by Hidnplayr
